Water/Soda Bottle Fuel Tanks
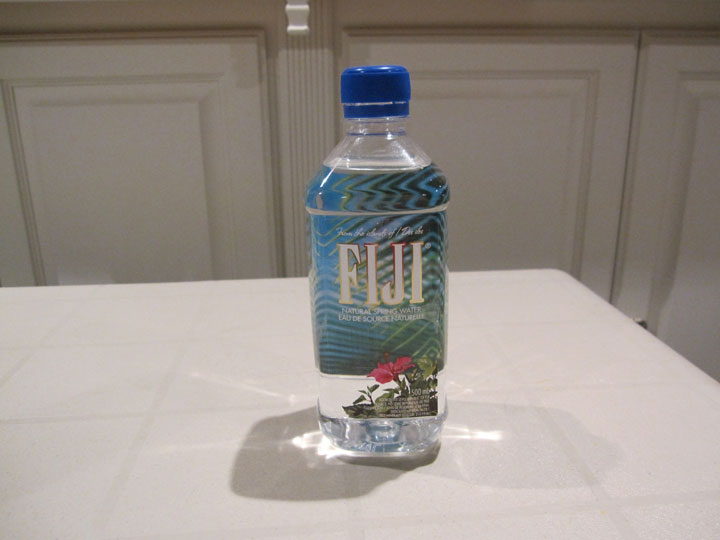 Fiji Water Bottle
Why use a Water/Soda Bottle as a gas tank? Good Question!
Here are a few reasons:
- Many Water/Soda Bottles are the perfect shape/size for specific planes.
- Many Water/Soda Bottles come in larger sizes (32oz or 1 Litre - even larger) which works well for larger airplanes.
- Many Water/Soda Bottles are crystal clear - which makes diagnosing fuel flow problems simple - you can easily check your fuel tank line, or clunk without removing or taking apart your fuel tank.
- Water/Soda Bottles are very reliable - screw top caps and Viton O-rings make for a reliable seal.
- With current accessories - Water/Soda Bottle tank assembly and maintenance is really quick and easy.
The following tutorial outlines the basic setup for a Water/Soda bottle gasoline fuel tank for a Giant Scale R/C Airplane.
Tools You Will Need:
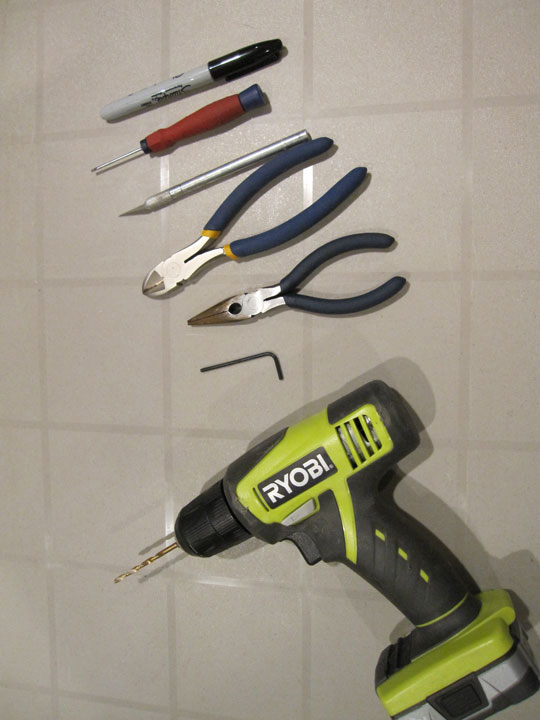 Tools you will need
Items You Will Need
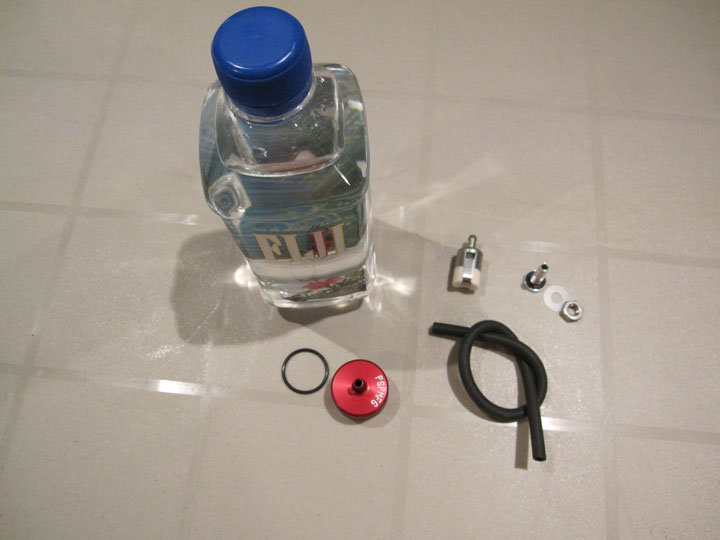
- Water/Soda Bottle - We highly recommend FIJI Brand Water Bottles. The come in several sizes (This is a 16oz - 1/2 Liter size. The have a great shape for most planes - squared edges, and a great angled neck. These can be purchased at most grocery and convenience stores
- Fuel Tank Cap compatible with your Water/Soda Bottle - There are several options - for ease of use, the PSP FIJI Water Bottle caps can't be beat! These are available at Thunderboltrc.com at this link: Click Here
- Clunk - We recommend these Felt Filtered Clunks by Walbro. These are available at Thunderboltrc.com at this link: Click Here
- Fuel Tank Fittings - Depending on the Fuel Tank Cap you are using, you may need Fuel Tank Fittings. The PSP FIJI Water Bottle Cap only has one nipple, so at least one fitting is required. PSP Fuel Tank Fittings can be found at Thunderboltrc.com at this link: Click Here
- Fuel Line - You will need fuel line for inside of your tank - We recommend Viton Fuel Line - it performs very well. Viton is available at Thunderboltrc.com at this link: Click Here
- Wire Ties
Prepare the Bottle
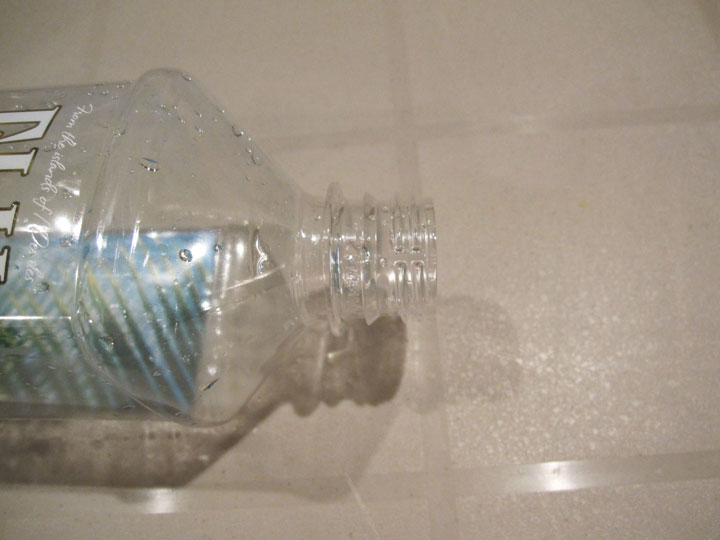 Prepare the Bottle
Prepare the Fuel Line
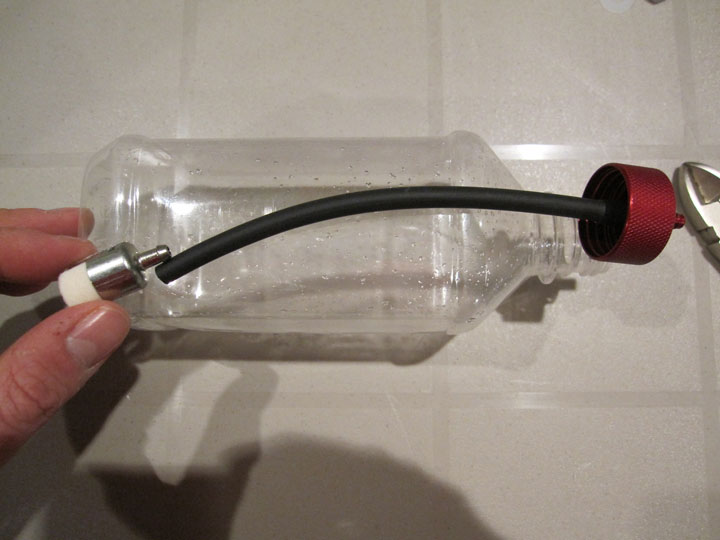 Prepare Fuel Line
Install Fuel Line to Cap
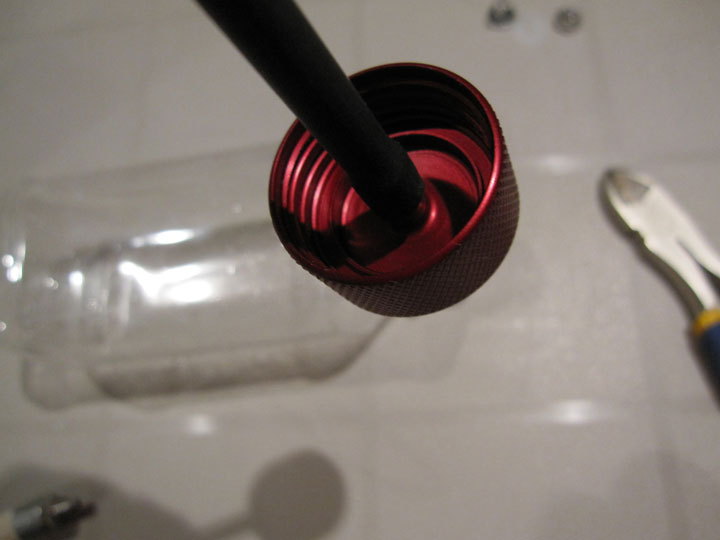 Fuel line on Cap
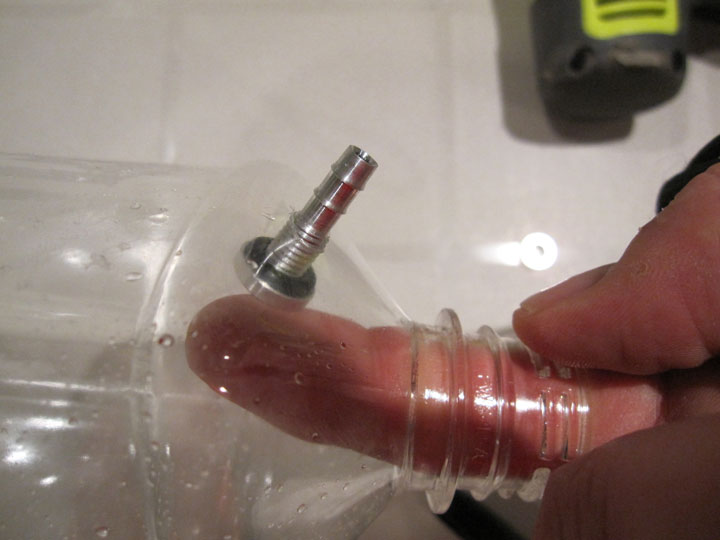
Install Clunk on Fuel Line and Cap
 Install Clunk
Mark Vent Fitting hole
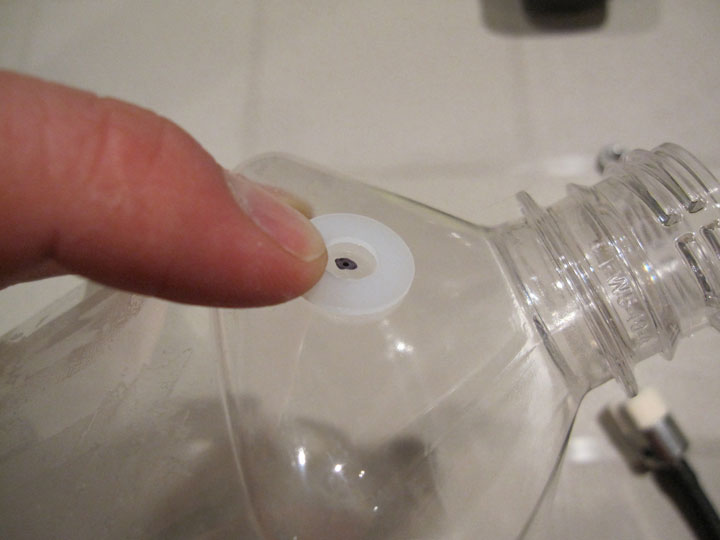 Mark Vent Hole
Drill Vent Fitting Hole
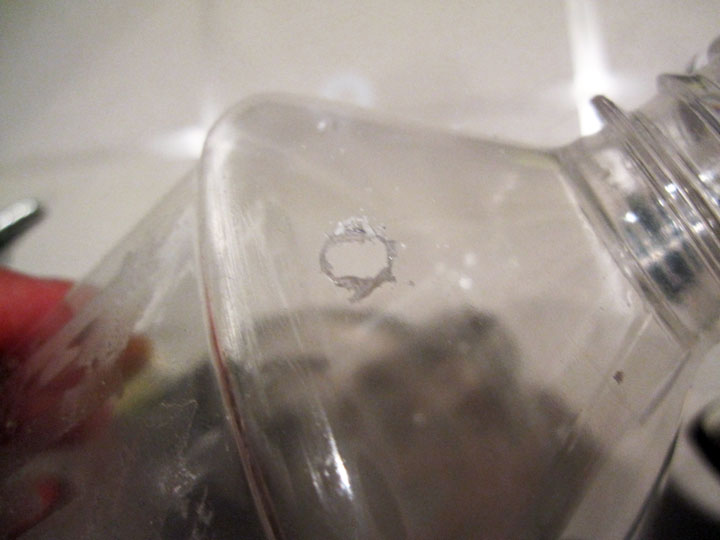 Drill Vent Fitting Hole
Insert Vent Fitting
 Vent Fitting Inserted
Secure Vent Fitting
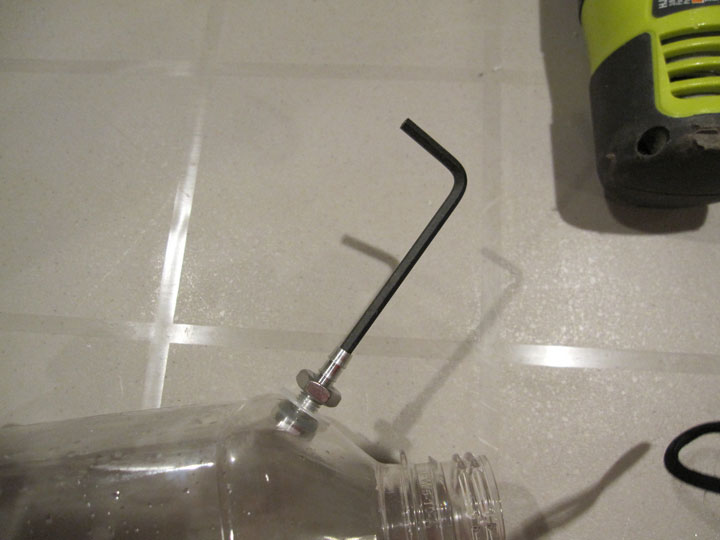 Secure Vent Fitting
Install Fuel Cap, Line, and Clunk Assembly
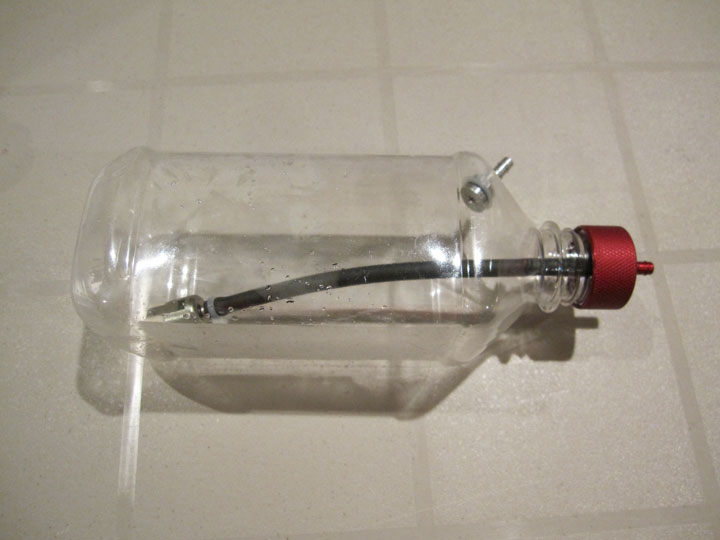 Completed Fuel Tank
|